Transition a campus to a church plant
If one of your campuses is becoming its own church, you'll want to create a new Planning Center account for it. With some planning and preparation, you can make the transition as smooth as possible for everyone affected by the upcoming changes.
Spend some time working through the steps in this article to prepare the information in the original account, then move it to the new one. This process includes:
Special pricing for church plants
An organization administrator in the new church plant account can contact the Planning Center support team to receive six months free for a subscription to the 1st or 2nd plan of all products!
Prepare for staff transitions
If there are any changes in leadership and administrative roles, share the Preparing for staff transitions guide in an email to transitioning staff members and volunteers as a checklist of everything they need to hand off before they leave. This will help keep any current processes they were responsible for from breaking.
Tip
If some people will be active in both churches, they can link their Planning Center accounts to switch between them easily.
Prepare profiles in People
Take some time to prepare the People profiles for those moving to the new account.
Make sure everyone is assigned to a campus. Even if you're still meeting in person in a combined space, have people interact with Planning Center and Church Center using their home campus to prepare for the switch.
Create a custom field in People to track who plans to attend the new church plant or change to a different campus.
Ask people to make sure their profiles and households are up to date. Use the new custom field in a form to gather answers and additional info from members.
Create a list of people based on their assigned campus, and then send them an email or text with a link to a form. You can also use this list to keep them up to date on progress with announcements.
Re-create any custom fields you'll need in the new church account to ensure you maintain important profile details.
After you've made all the preparations, go ahead and export the data from the original church and import the data straight into the new account.
Prepare donors and (optional) move donation history
When making the move to a new account, you'll want to focus on communication with donors well before the change. Let them know up front when the switch will happen.
Between now and then, set up Giving in the new account and consider if you need to transfer donation history from the original account.
Transfer donation history
Use these questions to help you decide whether or not you want to move donation history to the new account:
Do you need the historical donations to show up in the new campus' account?
If so, you can transfer members' donation history using a third-party import tool or by entering donations manually into batches.
What time of the year is the new church starting?
If the new church is starting mid-year, you may need to consider issuing end-of-year statements from each church for the donors that move.
Start accepting donations
When you're ready to accept donations at the new church, you can get the word out to your transitioning members.
Create a People list in the original account of everyone assigned to the transitioning campus.
Send out the link to the new account's Church Center donation form.
Most will already be familiar with Church Center, so they can log out of the current account and log in to the new one. From there, they can give online, access transferred history, and set up recurring donations once again.
Transfer events from Calendar
If you're using campus tags in Calendar, you can export events with that tag, and then import the events into the new account.
From the Table View, filter the events by the ones with the church plant tag.
Export the events to an iCal Feed.
Import the iCal feed into the new account.
Manually create any rooms and resources in the new account and assign them to the imported events.
Use reports to see details about any rooms and resources you need to recreate in the new account all in one place.
Tip
Copy text from the reports to paste into Calendar to speed up the recreation process.
Recreate content in Services
Due to information ownership laws, most of the data for Services in the original account can't be shared or exported, so it must be recreated manually in the new account.
Here are some things you can do to make the process as easy as possible.
Create the teams, service type(s), templates, plans, and songs you'll need to use when the church launches. Check your Services subscription level to make a plan that fits within its limits.
Manually copy Music Stand annotations in the new account.
Export a list of the songs in the original account as a list to work from while adding songs to the new account.
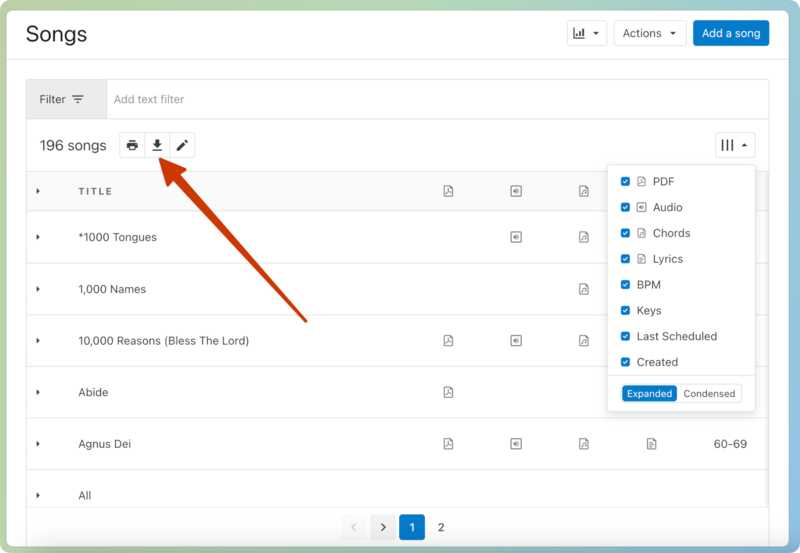
Tip
Expand the columns menu to choose which information you want to export about each song.
Create a new sermon channel in Publishing
While there's no way to transfer sermon channels from one account to another, you can kick off a brand new channel for the plant while linking to the main campus channel for historical sermons.
Depending on how you've built your site, you may also need to remove the plant's campus-specific page or update your original account's home page.
Remove the campus from the original account
Once all the data has been transitioned to the new church account, you can remove it as a campus in the original account's settings.