Manage station settings
You can view and manage station settings—like changing station types, themes, print options, and device pairing—in two different places: on a station or from the Stations page of Check-Ins on a web browser.
Edit settings
On a station
If you're at a station and have station keys set up, follow these steps to change its settings:
In the Check-Ins app, select the ⚙️ settings icon in the bottom right corner of the screen.
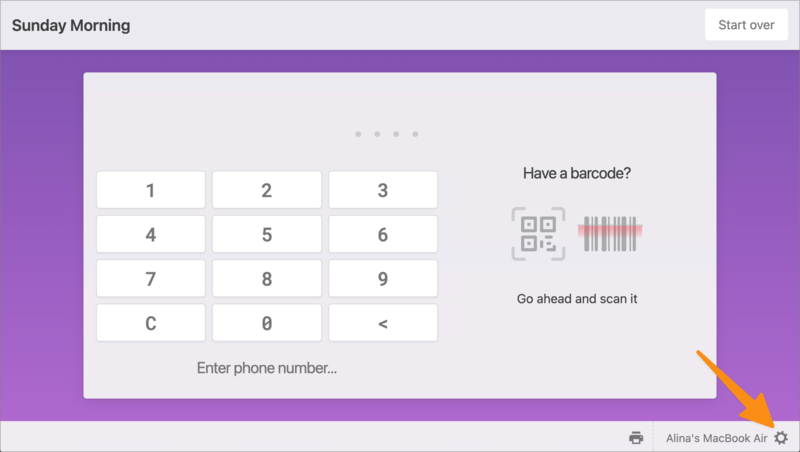
In the popup, enter your station key.
Select Login.
In the popup, you can change the station type, event/location, station where labels are printed, theme, and other settings based on the station type you're viewing.
To finish, select Save in the bottom right corner.
In Check-Ins using a web browser
If you're logged in to Check-Ins using a web browser, you can view or change settings for each of your stations, like the station name and type, when it was last used, the event/location it is locked to, the theme, which station it prints to, device type, and more.
Follow these steps to change a station's settings:
Select the Stations page in the top navigation.
On the main Stations page, you can preview high-level details for each station. If the station type is highlighted green, the station is currently online.
(Optional) Locate a station by entering its name in the search box or sorting the station list by name or when it was last used.
Select a station to change its settings.
In the popup, make your desired changes based on what type of station you've selected.
For self stations: You can set different keypad and scanner options. For touchless check-in, select the Automatically turn on camera for mobile devices box. After each check-in, the screen refreshes to a scanning screen without needing to touch the device.
Both keypad and scanner
Onscreen Keypad: Enter a phone number on the keypad or tap the camera to scan a code.
Keyboard/Scanner: Use the attached or onscreen keyboard to enter a phone number or tap the camera to scan a code.
Only keypads
Onscreen Keypad: Enter a phone number using the keypad.
Keyboard/Scanner: Enter a phone number on an attached or onscreen keyboard.
Only scanner
Barcode scanner: Use the attached scanner to scan a code, like an assigned barcode, mobile pass, or Church Center mobile app code.
Camera: Use the device's built-in camera to scan the code.
For roster stations: You can customize your station by choosing which tabs to show, how attendees are listed, and how check-ins and checkouts are managed.
Tabs
Select which tabs you want visible on the roster station.
Ready: Show a list of recent attendees for the selected event and location. You can also check in new people by searching the database.
Here: Shows everyone already checked into this event. If the station is only used to check people out, check Here and leave the other tabs unchecked.
Show security codes: Provide additional verification right at the station.
Confirm check-ins: Allow leaders to mark arrivals as confirmed. This will add an Unconfirmed section to the Here tab.
Check-out from all locations: If this station will check out children from multiple locations in this event, check this option to add an All locations button and speed up the process!
Checked out: Shows everyone who is checked out for the day.
Pull roster from
Roster stations must be locked to a specific event. You can also select a specific location, or choose All locations to let leaders switch between locations using a dropdown.
Show attendees from the past
Control how many past sessions (up to 6) are used to fill the Ready tab. If a child no longer fits the filters for a location, they will stay on the Ready tab until they've missed that number of sessions.
(Optional) If the station becomes unpaired with its device or you'd like to pair it with a different one, select Pair. Learn more about pairing a station with its device.
To finish, select Save.
Additional setup
Some stations require additional setup. Check out the following articles for more information: