Set up a Dymo printer
You can connect a Dymo printer to a Windows or Mac computer using a USB cable. If you want to print from an Android or iOS station, use the print to another station feature instead.
Watch the video below for steps on setting up your printer on a computer and testing label printing!
Find a support printer and labels
Printers: LabelWriter 550 Turbo, LabelWriter 550, LabelWriter 450, LabelWriter 450 Turbo, or LabelWriter 450 Twin Turbo. The LabelWriter Wireless is also compatible but must be USB-connected for desktop at this time; to learn how to set it up, follow the steps in the Dymo Wireless User Guide.
Labels: Planning Center templates are designed to work with the Dymo 30256 large shipping labels. If you want to use the non-default sizes, you must create custom labels.
Important
If using a Dymo LabelWriter 550, you must use Dymo brand labels and those labels must have the RFID sticker in the core.
Cleaning cards: If you're experiencing any issues with the printer, such as blank labels printing or dirty labels, clean the printer. The printer might come with a few cleaning cards, but you can buy more at Amazon.
Set up printer
You need internet access to set up the Dymo printer. Install the software as a Windows or Mac administrator for all users to avoid permissions issues.
Install the Dymo software
Download and install a compatible version of the Dymo printer driver. Refer to the Dymo Compatibility Chart to find and download the version that is compatible with your device. Once that is installed, the last step of the installation process is to plug in the Dymo printer using the USB cord provided.
Important
If you are using a LabelWriter 450 Turbo or Twin Turbo, already have the Dymo Label Software installed, and are not on Windows 11, you can continue without installing Dymo Connect. If you upgrade to Windows 11, you will need to uninstall the Dymo Label software and install the Dymo Connect software instead.
Once it's installed, open the Dymo software and select Print at the bottom right of the screen to make sure the printer is working with your computer. If it doesn't print, try restarting your computer and/or reinstalling the software from the website.
You'll also want to make sure the word "Dymo" is in the name of your printer on your Printers page so that Check-Ins can find it.
Make sure your software is on the following versions:
Make sure the most current version of the Check-Ins app and printing is downloaded. (Download both here)
Java: Adoptium [Eclipse Temurin v 17+] (choose your OS version and architecture, JDK, and version 17 in the filters to see the correct download option) (Download here)
Tip
Adoptium v17 will only work if you have also updated Check-Ins Printing app to v2.2.4+4
After updating those applications on each of your printing stations, restart those devices.
Enable the Check-Ins printing app
Planning Center doesn't have direct access to your computer's hardware. To gain access, the Check-Ins app includes the Check-Ins printing app, which works as a widget that translates Planning Center code to the printer.
Download the latest Check-Ins app.
Install and open the Check-Ins app. If using Windows, right-click the app to open and select Run as Administrator.
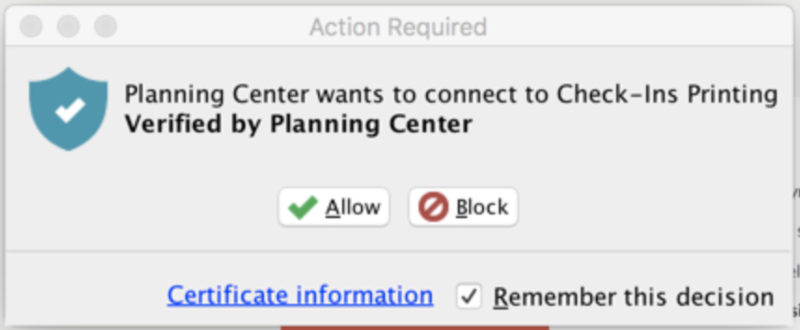
Select Remember this decision, and then select Allow when prompted for the Check-Ins printing app.
Create a station
A station is any device used to facilitate checking in. Your station will communicate with your printer to print labels, so if you haven't already, create a new Check-Ins station.
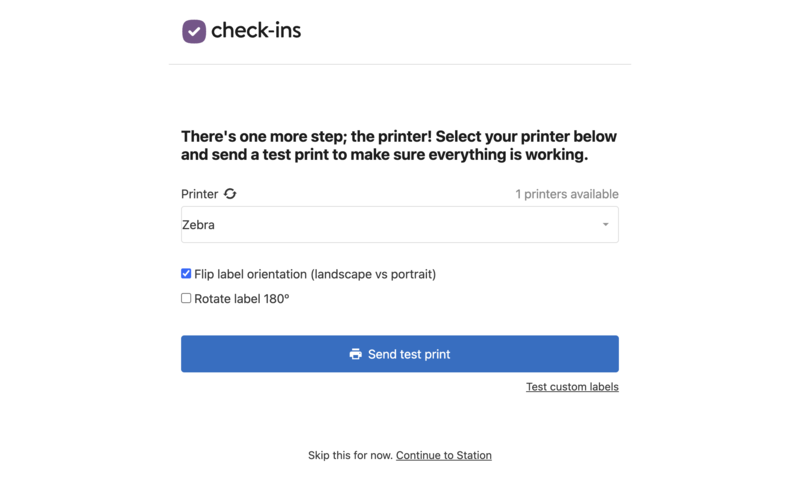
Test print
To make sure your printer is working correctly, send a test print to the printer.
From the Check-Ins app menu, go to Window > Printer Check.
Tip
If you are in Kiosk mode, use a keyboard shortcut to access the Printer Check page (
Ctrl+2for Windows;Cmd+2for Mac).Select Send Test Print.
If testing custom labels, select Test Custom Labels, and then select Send Test Print on the next page. The label will print.
If your label prints in the wrong orientation, check the Flip label orientation (landscape vs portrait) box on the Printer Check page. Adjust the setting as needed and repeat these steps again to test print.
Check out this training video on how to print from your computer!
Troubleshooting
If the printer isn't working properly, first try to unplug the power cord from the printer, wait 10 seconds, and then plug it back in. If the cord feels loose, you might need a new printer or USB-C.
If unplugging doesn't work, the next option is to go through a clean install.
Tip
Before you try the other steps, verify you are using the Windows/Mac Check-Ins app instead of using a browser station.
When you install the app, it creates a new Check-Ins station, so you may need to update station templates that pointed to your old browser station.
We created the Windows/Mac app to avoid issues with browser updates blocking communication between Check-Ins and the Dymo Web Service.
If your issue isn't listed here, chat with other people in our communities on Circle and Facebook or contact support using the ? question mark icon in the app.
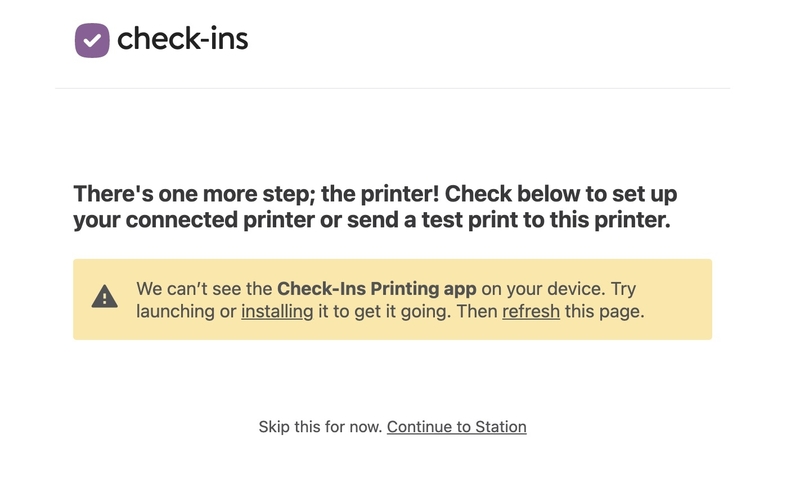
Troubleshoot the Check-Ins printing app
If you see this message, you may need to follow the steps below to delete the printing app's certificate from your computer and reconfigure the permissions.
 |
Look for the Check-Ins printing app in your system tray or menu bar. It looks like a box with a check mark. It might be in your hidden icons.
Select the Check-Ins printing app icon, and then select Advanced Site Manager in the dropdown.
In the Site Manager popup, select the Blocked tab and delete any entries.
Select the Allowed tab and delete the Planning Center entry and any other entries.
Select Close, and then restart the Check-Ins app.
Check Remember this decision, and then select Allow.
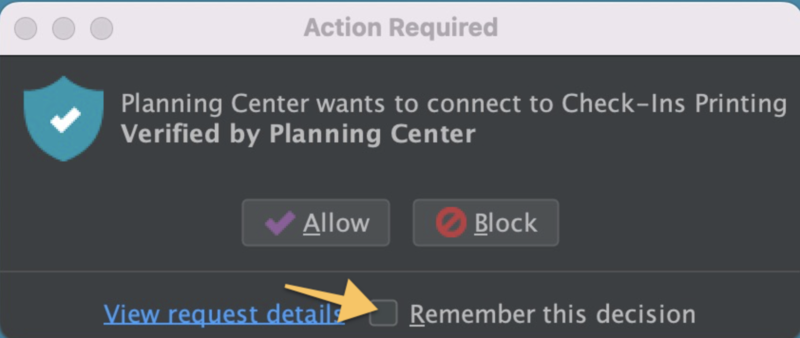
If you do not see this prompt or select Remember this decision the first time, you must follow the steps above to delete the current certificate and get the prompt again.
Unplug the printer from the computer.
From the Printers & Scanners page, delete any print jobs in the Printer Queue.
Delete the Dymo Label Software or Dymo Connect (Applications folder on Mac, Program Files folder on Windows), empty your Trash, AND delete the printer from the Printers & Scanners page.
Complete any pending computer updates.
Reboot the computer. Do not skip this step.
Download and install the latest version of the appropriate Dymo printer driver as an administrator on your computer. You will be prompted on the final step to plug in the printer.
Reboot the computer. Rebooting your computer both times is the key, so please do not skip Step 5 or 7.
Make sure there is only a single Dymo Label printer listed and that it is set to be your default printer.
Open Dymo Connect and try a test print.
Launch the Check-Ins app. The Check-Ins printing app should be showing with other open applications. It's a checkmark icon.
Check in someone who should print a label.
Tip
Windows: If you're having trouble removing the Dymo software from your computer, contact Planning Center Support for assistance.
Make sure all your apps are up to date. Here are links to the minimum required versions of all the applications you will need for printing to work:
Latest version of a compatible Dymo printer driver (Download here)
Make sure the most current version of the Check-Ins app and printing is downloaded. (Download both here)
Java: Adoptium [Eclipse Temurin v 17+] (choose your OS version and architecture, JDK, and version 17 in the filters to see the correct download option) (Download here)
Tip
Adoptium v17 will only work if you have also updated Check-Ins Printing app to v2.2.4+4
After installing any updated versions, make sure to restart your computer.
Go to Devices and Printers in the Control Panel (Windows) or System Preferences (Mac). Make sure there is only one instance of the Dymo printer installed, and that it's set to be your default printer.
If you have multiple Dymo printers installed, you must remove the inactive one. To figure out which one that is:
Unplug your Dymo printer from the computer.
Right-click the one that did not become greyed out when you unplugged the printer.
Select Remove Device (Windows) or select the ⊖ minus button in the bottom right (Mac).