Block out rooms or resources
If your campus is closed or needs maintenance, you can create a blockout for the affected rooms or resources so they can't be booked during those times.
Blockouts are similar to regular events, but they don't go through an approval process and automatically win all conflicts. If someone tries to request a room or resource that has been added to a blockout, the room or resource will appear as "blocked out" and can't be requested for that date and time.
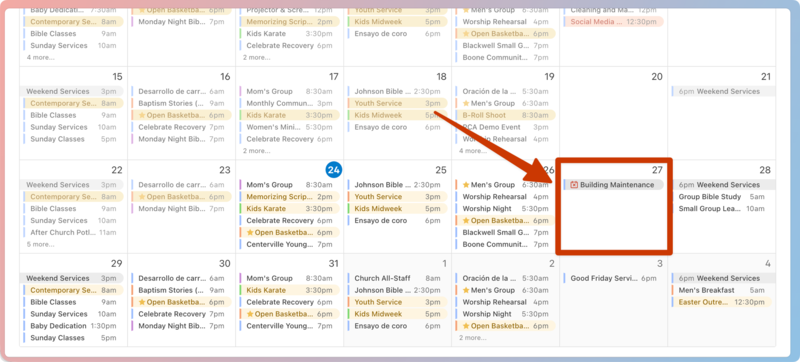
You can choose whether to include blockouts in your Events page by toggling the Event view filter. Blockouts show a blockout symbol next to their name.
Important
Anyone with permissions in Calendar can see blockouts.
Create a blockout
You must have room or resource editor permissions to create a blockout. If you're an editor in one area (rooms or resources) and not the other, you can only create blockouts for the area where you have editor access.
Select the Rooms, Resources, or Events page from the top navigation in Calendar.
Select New in the top right.
Choose Blockout from the dropdown.
Search for the room(s) or resource(s) you'd like to add to the blockout, or select Browse to see a list of rooms and resources in your organization.
Select a room or resource from the list to add it to the blockout.
If you're adding resources to your blockout, select Quantity next to a resource to set the quantity of resources to block out. Select Apply to save your changes.
Set the date range for your blockout. Check the All-day box if the blockout spans the entirety of each selected day.
If you have multiple calendars, choose which calendar the blockout applies to.
Select an owner for the blockout.
Enter a name and description for your blockout.
(Optional) Add tags to your blockout to help you sort between different blockout types.
Important
Tags (including any tag groups that are marked "Required") are not required for blockouts.
Select Create to open the new blockout.
Block out an entire folder
You can quickly block out all of the rooms or resources in a building or campus folder instead of adding them individually!
Select the Rooms or Resources page in the top navigation.
Choose the folder you'd like to block out.
Select New in the top right.
Choose Blockout from the dropdown. All of the folder's rooms will automatically appear in the New blockout popup.
Search for any additional room(s) or resource(s) you'd like to add to the blockout, or select Browse to see a list of rooms and resources in your organization.
Select a room or resource from the list to add it to the blockout.
If you're adding resources to your blockout, select Quantity next to a resource to set the quantity of resources to block out. Select Apply to save your changes.
Set the date range for your blockout. Check the All-day box if the blockout spans the entirety of each selected day.
If you have multiple calendars, choose which calendar the blockout applies to.
Select an owner for the blockout.
Enter a name and description for your blockout.
(Optional) Add tags to your blockout to help you sort between different blockout types.
Important
Tags (including any tag groups that are marked "Required") are not required for blockouts.
Select Create to open the new blockout.
Edit a blockout
Select the Events page in the top navigation.
Open the blockout you'd like to edit, depending on your calendar view:
In month view: Choose a blockout from the calendar, then select View blockout to open it.
In table view: Choose a blockout from the list to open it.
Select Edit in the top right of the Overview tab to edit the schedule, rooms and resources, or to add a task list.
Select Save for this date/these dates in the bottom right.
Select Yes, make these changes in the confirmation popup.
(Optional) Select the Settings tab to edit the event calendar, owner, managers, summary (for iCal feeds), and notes. Changes on this page are automatically saved unless a Save button appears.
Duplicate a blockout
Select the Events page in the top navigation.
Open the blockout you'd like to edit, depending on your calendar view:
In month view: Choose a blockout from the calendar, then select View blockout to open it.
In table view: Choose a blockout from the list to open it.
Select Duplicate in the top right.
Edit the name, event owner, event date, and calendar for the duplicate blockout.
Select Duplicate blockout in the bottom right.
Delete a blockout
Warning
You cannot restore a blockout once it's been deleted.
Select the Events page in the top navigation.
Open the blockout you'd like to edit, depending on your calendar view:
In month view: Choose a blockout from the calendar, then select View blockout to open it.
In table view: Choose a blockout from the list to open it.
Select Delete in the top right.
Select Yes, delete this date in the confirmation popup to permanently delete the blockout.