Automate emails
Use the automation feature to automatically send an email to someone’s primary email address whenever a certain action takes place—for example, when they serve, visit for the first time, or fill out a form.
This differs from scheduling an email, which sends a single message or template on a set date and time.
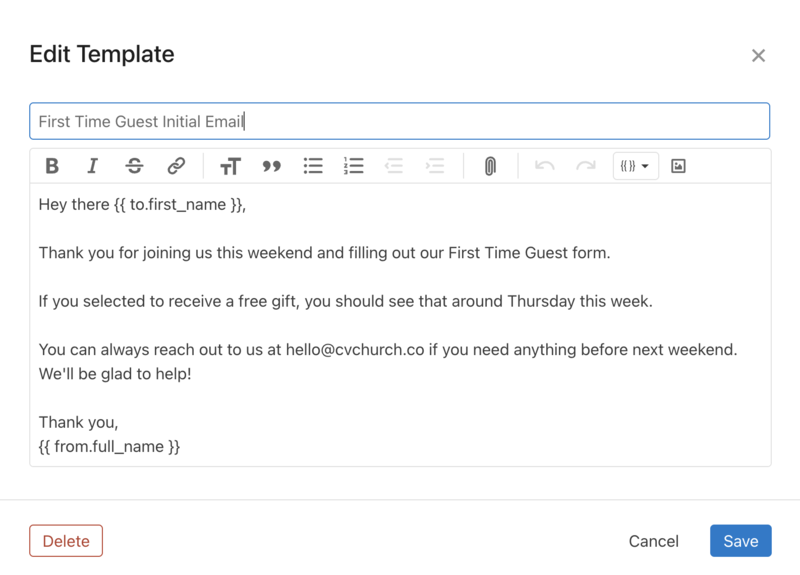
1. Create your email template
Create an email template with the information you want to automatically send to people. You can even include a link to a form!
 |
Important
The sender placeholders will use the profile information of the automation owner or custom email sender.
Use a Mailchimp campaign for advanced formatting
If you want to create an email with colors, images, and embedded videos, use Mailchimp instead of an email template. You can then sync a Planning Center List with Mailchimp to send the campaign. Set the list to auto-refresh nightly and re-sync every night.
Mailchimp has a lot of helpful tips to create your campaign and enable Mailchimp triggers, but here are the basic steps:
In Mailchimp, create an Email Campaign that is set up using tags.
Select the Mailchimp audience and the tag for your People list from the trigger options. The People list will create a tag in Mailchimp the first time it's synced.
Design your email.
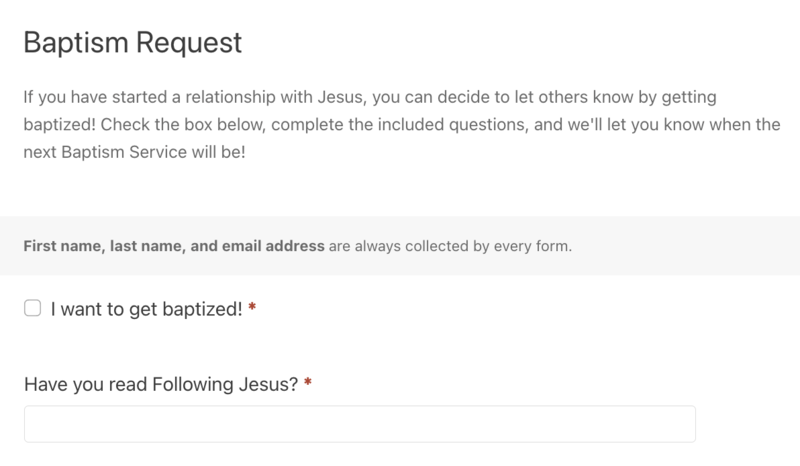
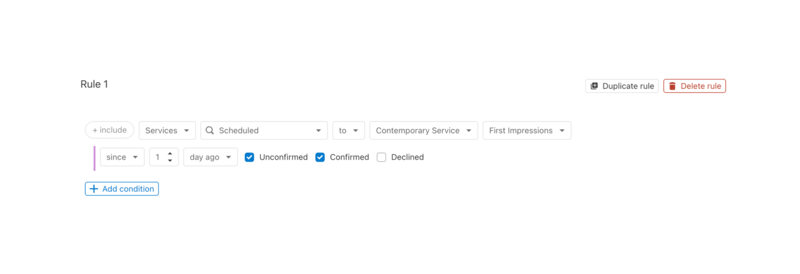
2. Create a list or form
Create a form or list of people you want to be automatically emailed. If using a list, enable auto-refresh in the list settings. The email will be sent when the list refreshes.
Expand a section for ideas on who could be sent an automated email.
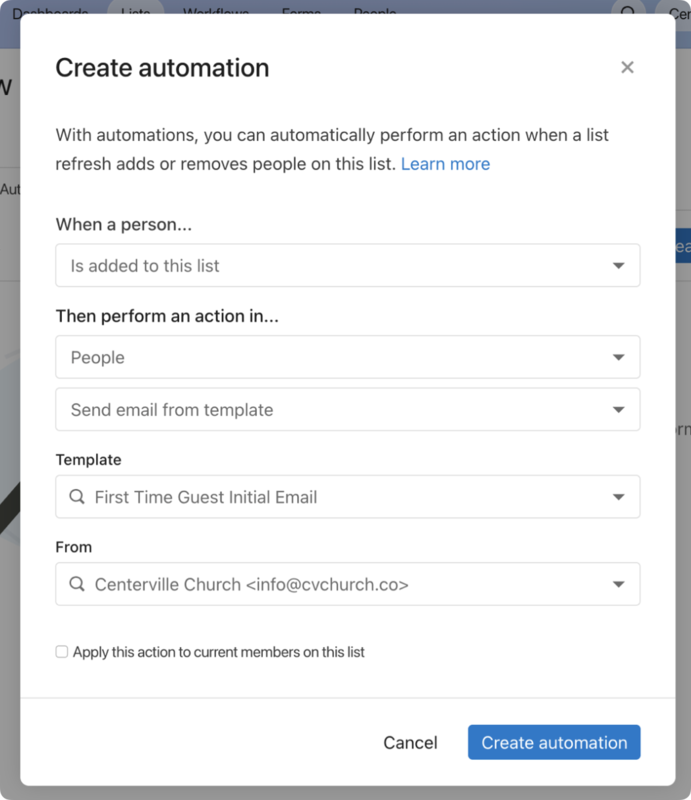
3. Set up automation
From the Automations tab in a list or form, create an automation that will email people when they are added to the list or submit the form. The email will be sent from the automation owner or a custom email sender, if selected.
Tip
If your workflow starts with sending an email, remove that step! Automate it through a list or form instead. Lists can send emails to people at any step, saving time and simplifying your workflows.