Use Giving for multi-campus churches
There is a lot to keep track of when it comes to donations from multi-campus churches! Giving will help you keep track of where donations are coming from and what they are intended for, using the available campus tools.
Important
Before you can use Giving to track donations across multiple campuses, make sure your Planning Center account is set up to include more than one campus. An organization administrator for your account can add campuses in the account settings by following the instructions in Add campus information.
Campuses can be assigned to donations in a couple of ways. Donors can choose a campus for their donation while donating online, and campuses can also be added to donations when entering batches. When a campus is assigned to a donation, it is tracked in Giving via stamps, which are added to donations to track intent. These stamps can then be used to generate reports for each campus.
Administrators can enable a campus dropdown on the online donation form to allow donors to choose which campus they are donating to. To turn on the campus selector on the online donation form Giving administrators can:
Select the Manage page in the top navigation in Giving.
Select Donation form on the left.
Check the Display a campus selector box.
Select Save in the top right to apply the change.
Tip
With the campus selector enabled, you don't need to create separate funds for each campus (such as "General – Downtown"). Campus attribution is handled by the stamp, so you can use a single consolidated fund across all campuses and still filter reports by campus.
If a donor is logged into Church Center and has a primary campus assigned to their profile or is using the Church Center app for a specific campus, the field will default to that location. If a donor's primary campus is not set, they will be required to select a campus from the dropdown before submitting their donation.
If a donor is not logged into Church Center, they will be prompted to choose a campus while donating.
The campus attached to a donation will not be applied to a donor's profile.
Generate reports for campuses
After donations have been assigned campus stamps, you can use them to filter by campus on the Dashboard, By donation, By donor, and In-kind tabs in Giving. Each report offers different information:
Dashboard: A high-level overview of giving within a set timeframe to a specified campus.
By donation: Report of all donations within the set timeframe that have a campus stamp that matches the set filter.
By donor: Report of all donors who donated during the set timeframe, whose primary campus matches the set filter.
In-kind: Report of all donors who made an in-kind donation and whose primary campus matches the set filter.
To create a campus-specific report:
Select the Donations page in the top navigation in Giving.
Select the Reports tab on the left.
Select one of the tabs at the top of the table. The tab you choose depends on the type of data you'd like to review. Each report type is explained above.
Select the Campus dropdown and check the boxes next to the campus(es) you'd like to view a report for.
Select Apply in the popup.
Set other filters, such as a date range, fund, and labels.
(Optional) Select Export in the top right to print or export the report to a CSV.
Important
Campus stamps are only visible inside Giving. This means they will not appear to donors on receipts or statements.
Track pledge campaigns by campus
You can use pledge campaigns to track large giving projects by campus! When creating a campaign, assign it to a campus. Campaigns assigned to a campus will track the total of donations given to the target fund with the chosen campus stamp. Create separate campaigns for each campus if they are all donating toward a common goal or single target fund to track giving by location.
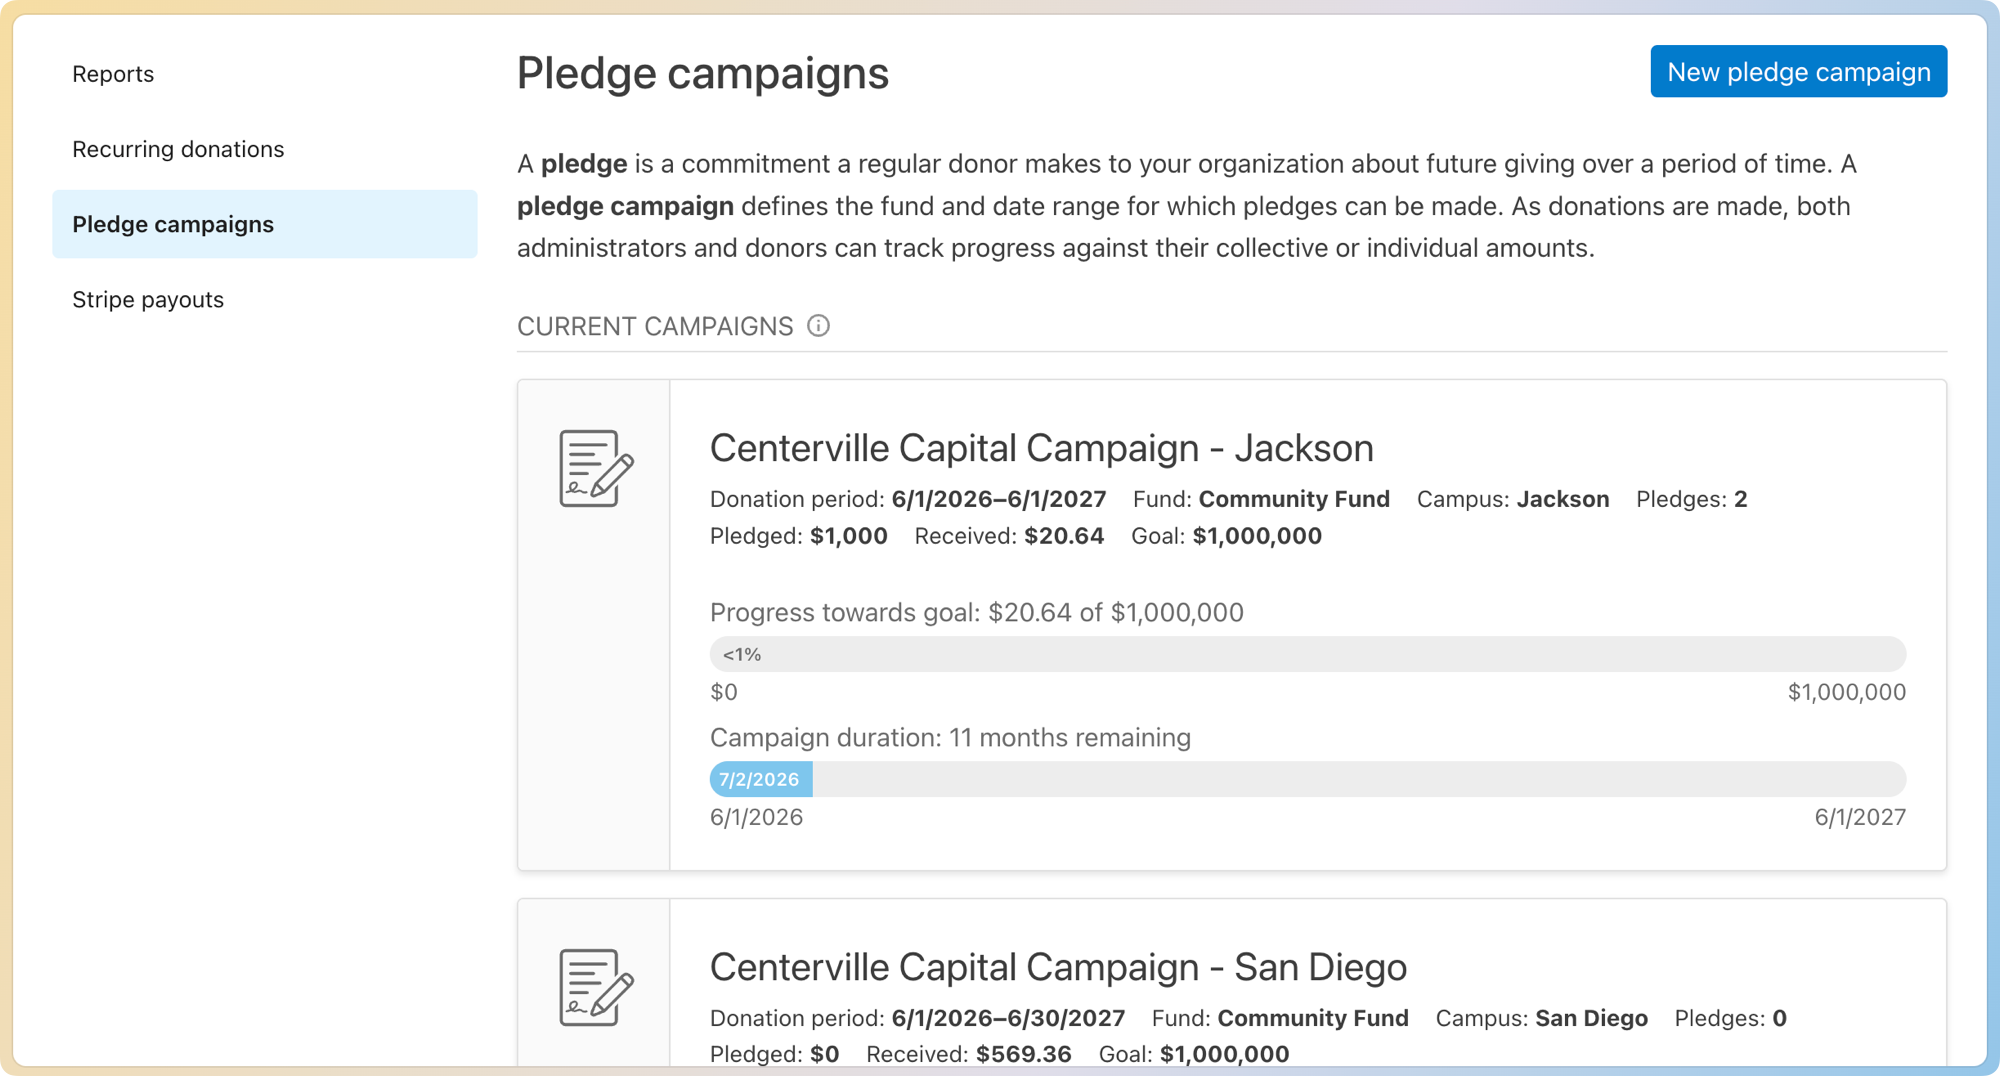
Keep in mind that only donations with a campus stamp that matches the chosen pledge campaign campus will be counted toward the campaign totals.
Bulk edit campus donations
If you've already been using Giving to track multi-campus donations, but were using campus-specific funds, you can now bulk-edit them to add campus stamps and start using consolidated funds instead!
Select the Manage page in the top navigation in Giving.
Select Bulk edit donations on the left.
Select the Past donations tab.
First, bulk edit the donations to a campus-specific fund to include a campus stamp:
Select All donations to a fund and the campus-specific fund name in the Search criteria box.
Select Campus to… and the campus name in the What will change box.
Select Edit [number] donations to add a campus stamp to the donations.
Next, move the donations from the campus-specific fund into the consolidated fund:
Select All donations to a fund and the campus-specific fund name in the Search criteria box.
Select Fund to… and the consolidated fund name in the What will change box.
Select Edit [number] donations to move the donations to a consolidated fund.
(Optional) Select the Recurring donations tab, repeat steps 4 and 5 to bulk edit all recurring donations to the correct campus stamps and corrected funds.
After you have added a campus stamp and moved the donations to a consolidated fund, you can delete the campus-specific fund!