Bulk edit donations
You can reassign multiple donations to a new payment method, payment source, received date, fund, or campus all at once.
Edit donations
Select Manage in the top navigation of Giving.
Select the Bulk edit donations tab on the left side of the page.
Set the search criteria.
In the first field, choose All donations in a committed batch, All donations with a label, or All donations to a fund.
In the second field, choose the applicable batch, label, or fund.
Set what will change.
In the first field, choose Payment method to…, Payment source to…, Received date to…, or Campus to…
In the second field, choose the applicable payment method, payment source, received date, or campus.
Warning
The donations that will be changed in the update are displayed in the Donations affected section, at the bottom of the page. You cannot undo bulk edits, so ensure that the donations in the list are the ones you want to update.
Select the Edit [number] donations… button.
Confirm the bulk edit by selecting the Begin Bulk Edit button in the popup.
After you confirm that you want to edit the donations, you can see the status of the updates. Possible statuses include:
Processing: The bulk edit action is queued up and will be completed shortly.
Completed: The bulk edit has been completed, and all donations have been updated.
Failed: This bulk edit couldn't be completed, and no donations were updated. You will need to retry the edit.
Common bulk editing scenarios
Bulk editing can be used to correct or reassign donations. Below are a few scenarios you may run into where bulk editing may be used:
Correcting batch errors: If an import from an external platform miscategorized donations, or a mistake was made when entering donations in a specific batch, you can fix the issues for all donations at once using bulk editing. You can change the received date, payment method, or payment source for all donations in a specific batch.
Updating campus assignments: If you've been using campus-specific funds or labels to track donations for specific campuses, you can now assign all those donations to a campus directly.
Moving donations from an old fund to a new fund: Without bulk donations, you must reassign the fund within each donation.
Correcting how you tracked non-deductible donations: If you used to use a workaround to track non-deductible donations, you can change how donations were tracked before, like changing a label to a payment source for donor-advised fund (DAF) or qualified charitable distribution (QCD) donations.
View edit history
You can view completed bulk edits after they've been made.
Select Manage in the top navigation of Giving.
Select the Bulk edit donations tab on the left side of the page.
Select the View bulk edit history button in the top left.
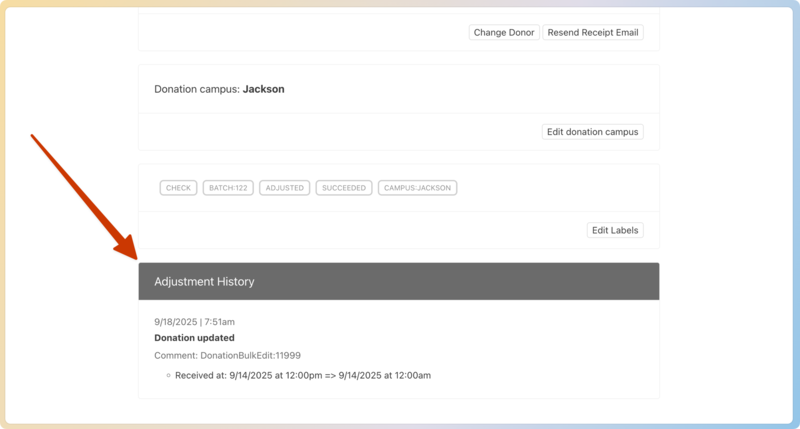
Bulk edits are tracked as changes to the donation, just like any other edit. They'll appear as edited donations, and the change will show in the profile adjustment history as well as the log.