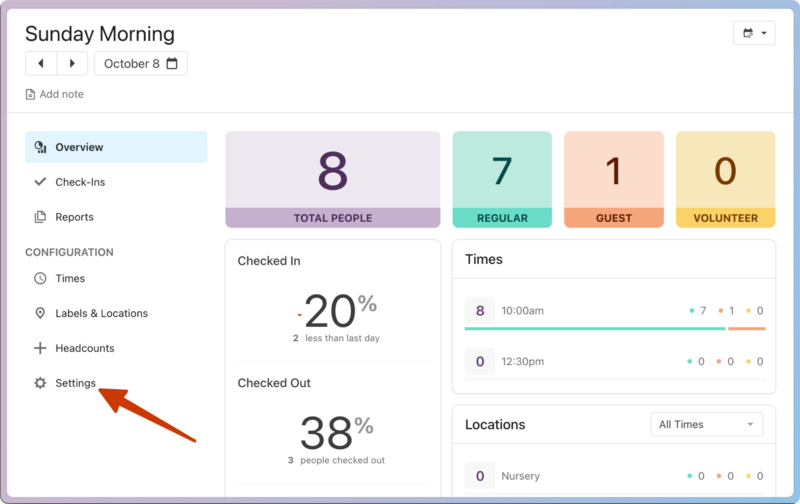
Manage event settings
An event's Settings tab is where you can edit an event's name and set details such as how often the event occurs, which campuses it belongs to, if background checks are required, and more! Follow the steps below to get to the Settings tab:
Select the Events page from the top navigation in Check-Ins.
Choose the event from the left sidebar.
Select the Settings tab from the left sidebar.
Event Settings
You can manage the following settings in the Event Settings section:
Frequency: Set a daily, weekly, or non-recurring schedule.
Campus: Assign a campus for more filtering options throughout Planning Center.
Preselect: Turn on preselect for the fastest possible check-in process.
Church Center App: This integration allows people to check in to the event from their mobile devices. When activated, people can precheck household members and scan a QR code to complete the check-in.
Headcounts: Choose whether or not to show this event in the Headcounts mobile app.
Services Integration: Activate/deactivate the Services integration for this event. This allows scheduled people to check in as volunteers, and their check-in shows in both Check-Ins and Services.
Allow one-time visitor (Label only): Activate label only mode to check in visitors without saving them to your database.
Past sessions: If you tracked data before using Check-Ins, add one or multiple past sessions to this event. Only editors have access to this option.
Background checks
Select the checkbox in this section to require volunteers to have a background check for all locations in this event. This setting locks each location to this requirement.
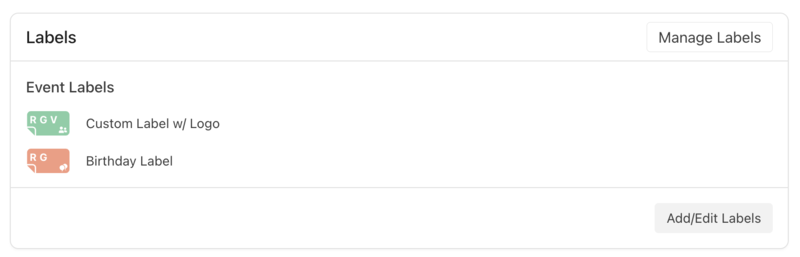
Labels
If you want every location for this event to print out labels, add labels to the event.
You can also add labels to individual locations and folders.
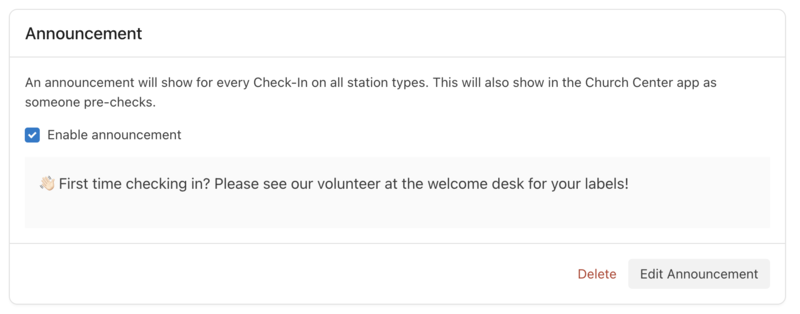
Announcement
Add an announcement that will show on the check-in station screen each time it refreshes.
Archive or delete
The buttons for archiving or deleting events and sessions are at the bottom of the Settings tab.