Create and edit a custom page
Custom pages are a great way to share forms, media, or information you would include in a church bulletin. You can even set a page to limited access to display content to certain membership types only. Custom pages are in addition to the built-in pages that link to Planning Center products.
Create and publish a page
Select Content in the top navigation in Publishing.
Select the Add page button in the top right.
Add a page title that will show in your Church Center navigation.
Warning
This title will show in the URL path for this page and cannot be changed later.
Select Create page.
Add content to the page by dragging blocks from the right sidebar and dropping them into the body of the page.
When you're done adding blocks, use the buttons at the top of the editor to save, publish, and set page access.
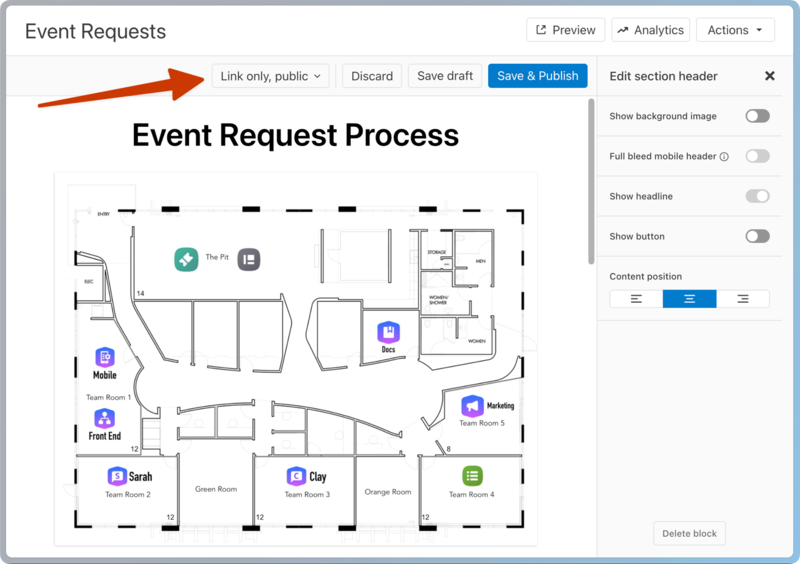
Link only, public: Select this button to open the Page Navigation & Access popup.
URL: Copy the page URL so that you can add the link to a button or your navigation. You can also share this link with anyone to let them view the page directly.
QR code: Download the QR code to use on printed materials or displays. This code allows people to scan it to easily access the page.
Page access: You can control which membership types can view this page by sliding the Limited toggle and selecting the membership types. If you add this page to your navigation, everyone can see it in the navigation, but only people logged in and matching the selected membership types can view the page content.
Discard: Undo all changes since your last save.
Save draft: Save changes without publishing them.
Publish or Save & Publish: Publish your changes.
(Optional) After you've published a page, add it to the navigation for quick access.
To hide a page from the public, archive it or remove it from navigation.
Tip
There's also an Add page button on your Publishing dashboard for quick access when you want to add a page!
Edit in draft mode
Pages can stay in draft mode while you work on them, so people can't access the changes while you edit. A page is not fully published if its status is listed as Draft or if it has a blue dot on its Published status.
Select Content in the top navigation in Publishing.
Scroll or search to find the page you want to edit.
Select the Actions button on the right side of the page's name.
Choose Edit from the dropdown. This opens the page editor.
Make your edits.
When you're done working, select Save draft at the top of the editor to save your changes, or Discard to discard them.
Your edits are saved in draft mode but are not publicly visible. When you're ready to make those changes visible to the public, select Publish at the top of the editor.
When you publish a page, it is available at the link; however, if you don't add it to the navigation, it won't be available on Church Center app or web navigation.