Archive or delete media
If you have media items you've used in the past but no longer plan to use, archive them. For example, you might want to hide Christmas or special event media if you won't use them the rest of the year.
Archived media items are hidden in the main Media page list unless you filter for them. They also won't appear when you add media items to a plan.
Archive media
You can archive a single media item or select multiple items to archive in bulk.
Archive a single media item
Select the Media page in the top navigation.
Select the media item you'd like to archive.
Select the Actions button in the top right.
Choose Archive Now to archive the item immediately.
Choose Archive Later to select the date you want this item to be archived.
Select Yes, Archive now or Yes, Archive later to finish the process.
Important
Files within archived media do count against your allotted file storage space,so if you are sure you won't use the media again, delete its corresponding files. The image or video preview thumbnail will remain, but it does not count against your file storage.
Archive more than one media item
Select Media from the top navigation.
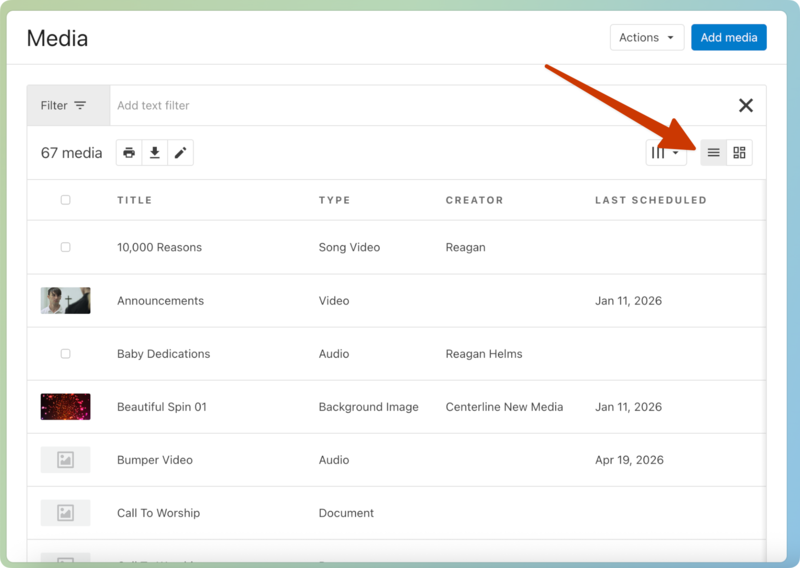
Select the Row icon (three horizontal lines) in the top right to switch to the row view.
Select the media items you'd like to archive by hovering over their thumbnails and checking the box that appears.
Select the ✏️ bulk edit icon at the top of the list.
Select Archive from the Archive dropdown.
Select Update Media to finish archiving these items.
Restore media
You can restore a single media item or use the bulk edit tool to restore multiple media items.
Restore a single media item
Select the Media page in the top navigation.
Select Filter at the top left of the list to expand the filter menu.
Select the History tab.
Select Show Archived Media.
Select which media item you'd like to restore.
Select Actions next to the media item name.
Choose Restore from the dropdown.
Select Restore.
Restore more than one media item
Select the Media page in the top navigation.
Select Filter at the top left of the list to expand the filter menu.
Select the History tab.
Select Show Archived Media.
Select which media items you'd like to restore by hovering over their thumbnails and selecting the checkbox that appears.
Select the ✏️ bulk edit icon at the top of the list.
Select Restore from the Restore dropdown.
Select Update x Media to restore the selected items.
Delete media
If you decide you won't use a media item again, you can delete it from the media library.
Warning
Deleted media items cannot be recovered. If you think that you might want to use the media item again, archive it instead of deleting it.
Select the Media page in the top navigation.
Select the media item you'd like to delete.
Select the Actions button in the top right.
Choose Delete Forever from the dropdown.
Review the warning, then select Yes, delete forever to finish the process.
If you don't want to delete a whole media item, you can delete a specific file from the item:
Select the Media page in the top navigation.
Select the media item from which you'd like to delete specific files.
Hover over a file name in the Files section.
Select the ✏️ edit icon.
Select Delete from the Edit File Details popup to delete this specific file from the media item.