Use labels to organize donations
Labels allow you to group donations to manage and categorize them. Labels only show on the administrator side of Giving, so donors never see them.
If you're not sure how you want to track donations with labels, wait until donations come in. As they come in, decide if adding a label will help you find the information you need. Keep in mind that stamps already give you lots of information to filter by.
Some great examples of labels are:
Days when you have service, such as Sunday or Midweek
Types of services that don't have funds, such as Kids Church or Small Groups
Checks that are mailed or post-dated
Donations that need a follow-up, especially if they specify a closed fund
Create a label
After you've decided on how you'd like to organize donations, create your first label. You can create a new label from the Labels tab on the Manage page or when you create a new batch or donation.
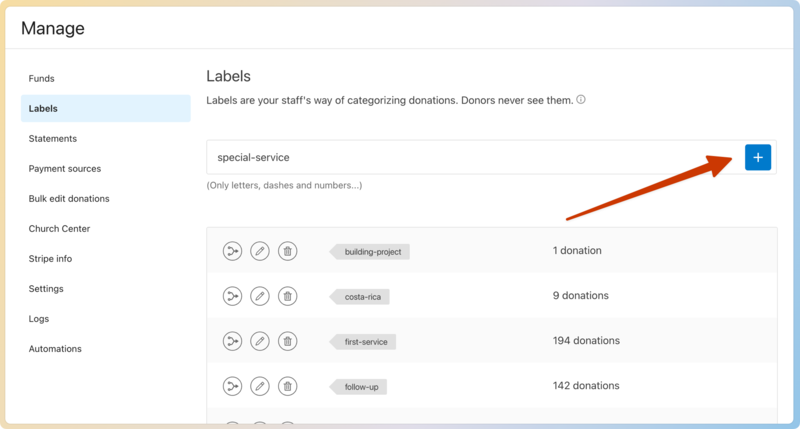
Select Manage in the top navigation.
Choose Labels on the left.
Type the name of your label in the enter-a-new-label-name box.
Select the ⊕ plus icon to create your label.
Add a label to a donation
You can add a label while entering donations into batches or editing donations.
Multiple labels can be added to the same donation to help you track things such as location, type of event, name of event, or an action needed for the donation.
Tip
After creating and assigning labels to donations, you can filter the donation list by Label.
Add a label while entering batches
After creating a batch, search for a donor's name in the Add a donation box.
Select the donor's name from the search results.
Enter the donation information, including amount, fund, and payment details.
(Optional) Choose a campus.
Search for the label you created in the donation labels box.
Choose the label from the search results or create a new label.
Select Next donation.
Add a label to existing donations
Search for a donor's name using the 🔎 search icon in the top right.
Select the Donations tab on the donor's profile.
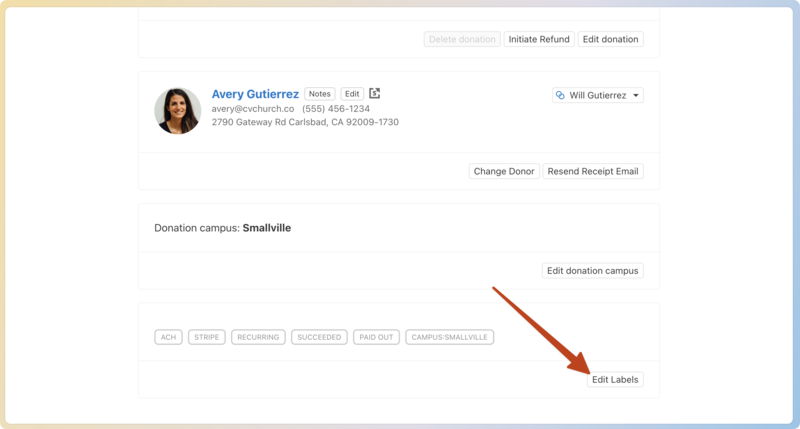
Choose the donation you'd like to add a label to from the list.
Select Edit labels in the bottom right corner of the stamps and labels box.
Search for the label you'd like to add in the donation labels box.
Choose the label from the search results or create a new label.

Select Save labels.
Merging, editing, or deleting labels
You can make changes to the labels you've created from the Labels tab.
Important
Changes made to labels will be tracked in the system logs.
Merge a label
If someone mistakenly creates a label instead of using an already-created label, merge the donations assigned to that label into the appropriate one.
Select Manage in the top navigation.
Choose Labels in the sidebar on the left.
Select the merge icon next to the label you'd like to remove.
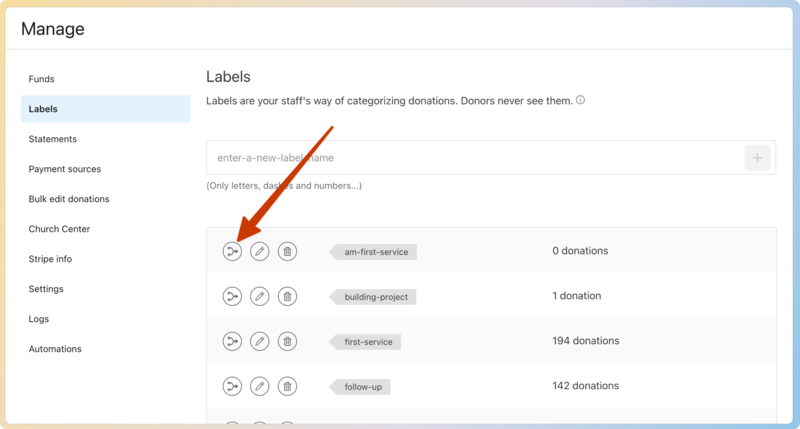
Choose the label you'd like to merge it into from the dropdown.
Select Merge label.
Edit a label
If you'd like to update a label's name, change it to a name that better fits your needs.
Select Manage in the top navigation.
Choose Labels in the sidebar on the left.
Select the ✏️ edit icon next to the label you'd like to change.
Type the new label name.
Select Edit label.
Delete a label
If a label is no longer needed, delete it. The label will be removed from all applicable donations, but donations will be otherwise unaffected.
Select Manage in the top navigation.
Choose Labels in the sidebar on the left.
Select the 🗑️ delete icon next to the label you'd like to delete.
Read the warning and select Confirm.