Create a custom confirmation message
Add a custom confirmation message that attendees will receive once they register from the Confirmation message tab of your signup.
Select the Signups page in the top navigation.
Choose your signup from the list.
Select the Configuration tab.
Select Confirmation message on the left.
Select the Add message button in the top right.
Use the text formatting tools to add a custom message for attendees to receive after registering.
Select Save.
Tip
If you want to send a custom confirmation email to a specific selection type, set it up in the selection settings.
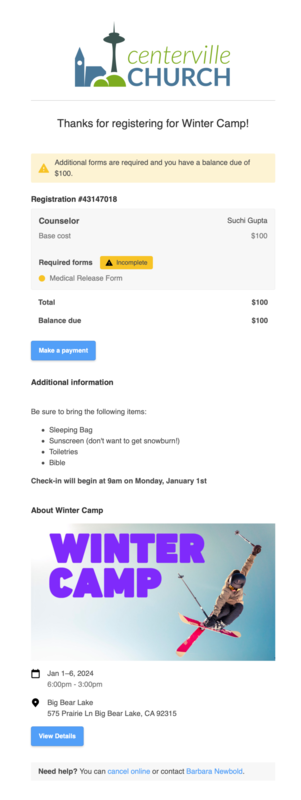
When a custom confirmation message is added to a signup, registrants will receive an email after registering that includes all registration information and any message you add. It will also include a link to the signup on Church Center and a copy of the attendees' registration details.