Introduction for counters
Are you responsible for counting donations each week? Then, the counter role in Giving is the right fit for you! A counter counts physical donations, such as cash and checks, after a service and enters them into Giving, but doesn't need access to donation history. This guide provides an overview of your access.
Tip
If you cannot log in, follow the steps in the Log in to Planning Center article.
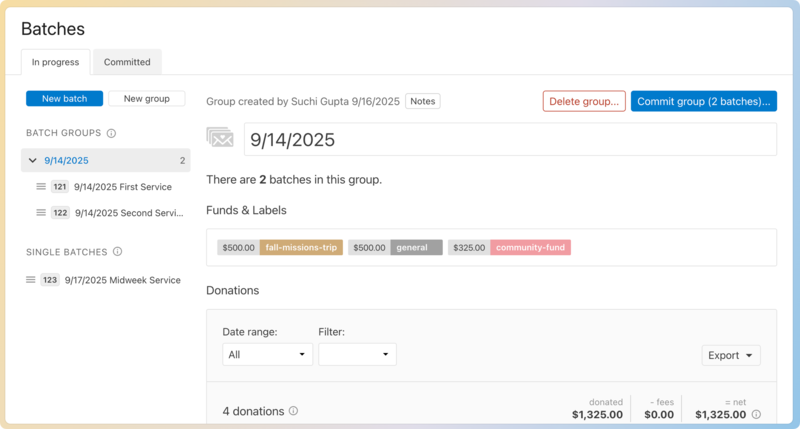
Batches
You have access to batches , which is the place that holds all the physical donations. You can organize batches in the way that makes the most sense for your church as long as the other counters understand your system.
Printing batch reports
After you have finished counting, export a batch report if a copy of the included donations is needed.
Print a batch report by selecting Export, followed by Print View on the donations list.
Tips for speeding up the process
Batch defaults and check readers can significantly speed up your counting process.
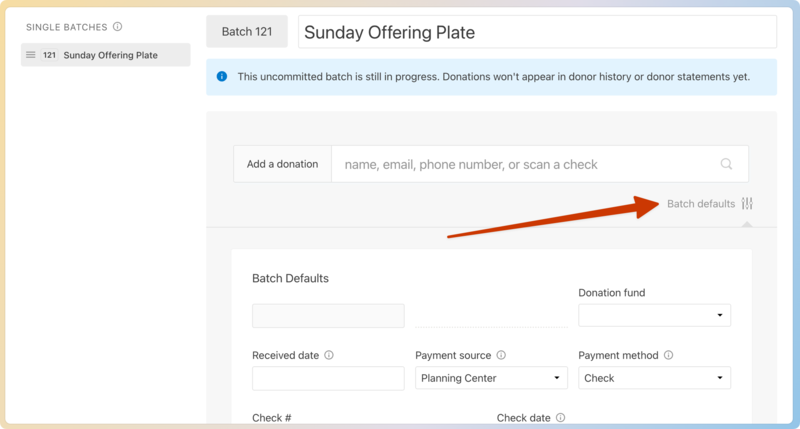
Batch defaults
Select Batch defaults under the Add a donation box to set defaults for all the donations you enter into batches. Change the defaults as you enter more groups of donations.
Check readers
If you regularly get checks, using a check reader makes inputting those checks much easier.
A check reader does:
Automatically select the donor profile every time you scan a check with that number after you've assigned the number.
Read the numbers at the bottom of a check (the “MICR”). The check number isn't always included with the MICR, but when it is, the check number field will be auto-filled while adding that donation to a batch.
A check reader does not:
Scan the check (copy and store the image of the check) or do Remote Deposit Capture.
Capture the check amount.
Read a check number.
Tip
See the Giving Integrations article for third-party integrations with some of this functionality.
Get help and support
Any time you have questions, Planning Center's support team is here to help! Use the ? question mark icon in the toolbar to open the Help and support sidebar.
From here you can:
Search online documentation for an instant answer to your question. The toolbar also suggests help articles based on the page you are currently viewing.
Access getting started resources or jump into Planning Center University (PCU). You can also connect with other Planning Center customers in the customer communities and see what's new by checking out the changelog.
Connect with a support agent for one-on-one help. You can email them directly from the toolbar, or schedule a phone call if you prefer.
Depending on which Planning Center product you're using, you can also contact support directly from the corresponding mobile app:
Services/People: Tap your profile icon in the top right, then tap Help to access help articles or open a ticket with support.
Check-Ins: Tap the ⚙️ settings icon in the bottom right, then tap Contact Support to open a ticket with support.
Music Stand: Tap the menu icon (three horizontal lines) in the top left, then tap Help to access help articles or open a ticket with support.
Organization administrator requests
The following Support requests can only be made by organization administrators:
Data removal or corrections you can't make yourself (undo old CSV imports, iCal imports, etc)
Gain access to anything that was created and managed by someone else in the account
Restore or fully delete a canceled account
Request access to Giving (if there are currently no Giving administrators in the account)