Use folders to organize rooms and resources
If you have many rooms or resources, keep them organized using folders. Create folders based on campus, department, or whatever works best for your church!
Create a new folder
Select the Rooms or Resources page from the top navigation bar.
Select the New button in the top right.
Choose Folder from the dropdown.
Enter the name for the folder.
(Optional) Select a parent folder.
Select Create.
Important
You will only see the buttons in that tab if you have permission to manage rooms and/or resources.
Edit a folder
Select the Rooms or Resources page from the top navigation.
Select the folder you'd like to edit.
To edit the name of the folder, select the current name in the top left.
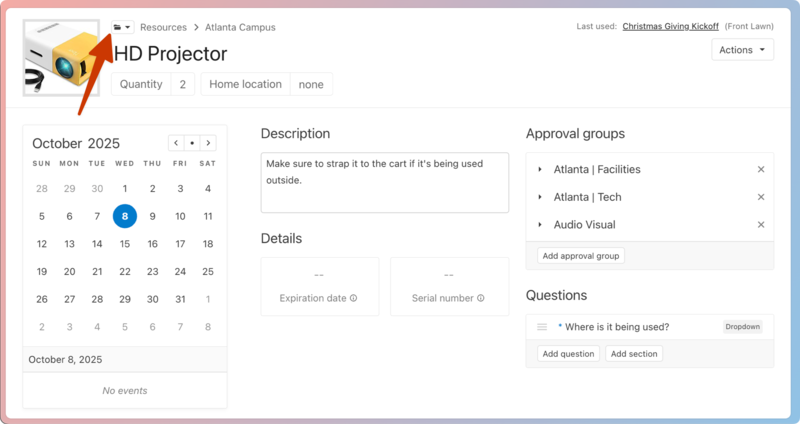
To move the folder into or out of another folder, select the 📁 folder icon in the top left.
Delete a folder
Only an empty folder can be deleted, so remove any events, rooms, or resources from the folder first.
Select the Rooms or Resources page from the top navigation.
Select the folder you'd like to delete.
Select the Actions button in the top right.
Choose Delete folder from the dropdown.
Put rooms or resources in a folder
You can move a room or resource to the appropriate folder after you've created it. To do so, select the 📁 folder icon in the top right of the room or resources page and choose the folder from the dropdown.